Showing posts with label Side Dishes. Show all posts

Wednesday, November 19, 2014

Worcestershire-Glazed Brussels Sprouts

The process of making this dish brought to mind the phrase mon petit chou. It's a French term of endearment, and while the official definition declares that chou refers to a sweet pastry, I rather like the alternate translation,  'my little cabbage.' Let's agree that pastries may be universally beloved, whereas showing affection for a cabbage requires a greater commitment to the item in question. Either way, in the absence of my own chou whose size I can evaluate, I've gone ahead and made a whole bowlful of miniatures cabbages, to snack on, savor, and share. Fall has dumped its flavors into the produce troughs so I may wander through the grocery store and weigh down my arms with mole-ridden squash, half-piece pecans, and satchels of Brussels sprouts. The sprouts shed their leaves along the conveyor belt, as they're scrubbed clean, even as they lie on the cutting board. Despite the stray leaves, I (and you) will still be left with more than enough to make a pot-ful of tangy, pleasingly toothsome, very little, vegetables. 

Worcestershire has this lovely smokey-sweet quality that cloaks the sprouts, inviting their ruffles to soak up the sauce. It's a satisfying bite. Add a hit of dried basil, summer's vestiges, and you've got a dish that delivers the warmth just right for a cozy winter night and a memory of those sun-hazy days. 

Worcestershire-Glazed Brussels Sprouts

Ingredients:
1 lb. Brussels sprouts
2 TBSP olive oil
1 tsp. garlic powder (or four cloves of garlic, peeled and sliced)
1 TBSP worcestershire sauce (I used the vegetarian kind)
several pinches of dried basil

Directions:
--Halve Brussels sprouts. In a medium saucespan, heat olive oil. Add Brussels sprouts and garlic powder or garlic and sautee for 5 minutes or until leaves begin to wilt.
--Pour worcestershire sauce to the pan and continue cooking until the brussels sprouts are fork-tender. Add water by the tablespoon as necessary to help them cook. Remove from heat and sprinkle on basil just before serving.


Sunday, August 3, 2014

Ricotta-Beet Tart (Gluten-Free)

For someone who likes to cook, there is little else as pleasing as a party of good eaters. And I've had the fortune to happen upon one such group, who not only enjoy a good multi course meal, but are game for just about anything I concoct, whether it's dainty, airy-fairy finger foods or a comforting pot of winter stew. Consider them my dinner club--we get together every so often (never often enough) for outrageously long meals, where the wine is passed around, plates are filled multiple times, and conversation winds from neighborhood happenings to the Star Trib's latest theater review. One of these eaters is also gluten-free, which challenges me to look for recipes beyond my normal repertoire of, well, bread and cake. And, luckily, I have a good friend who has recently embarked on the adventure of experimenting with non-wheat flours and supplies me with her favorite creations.

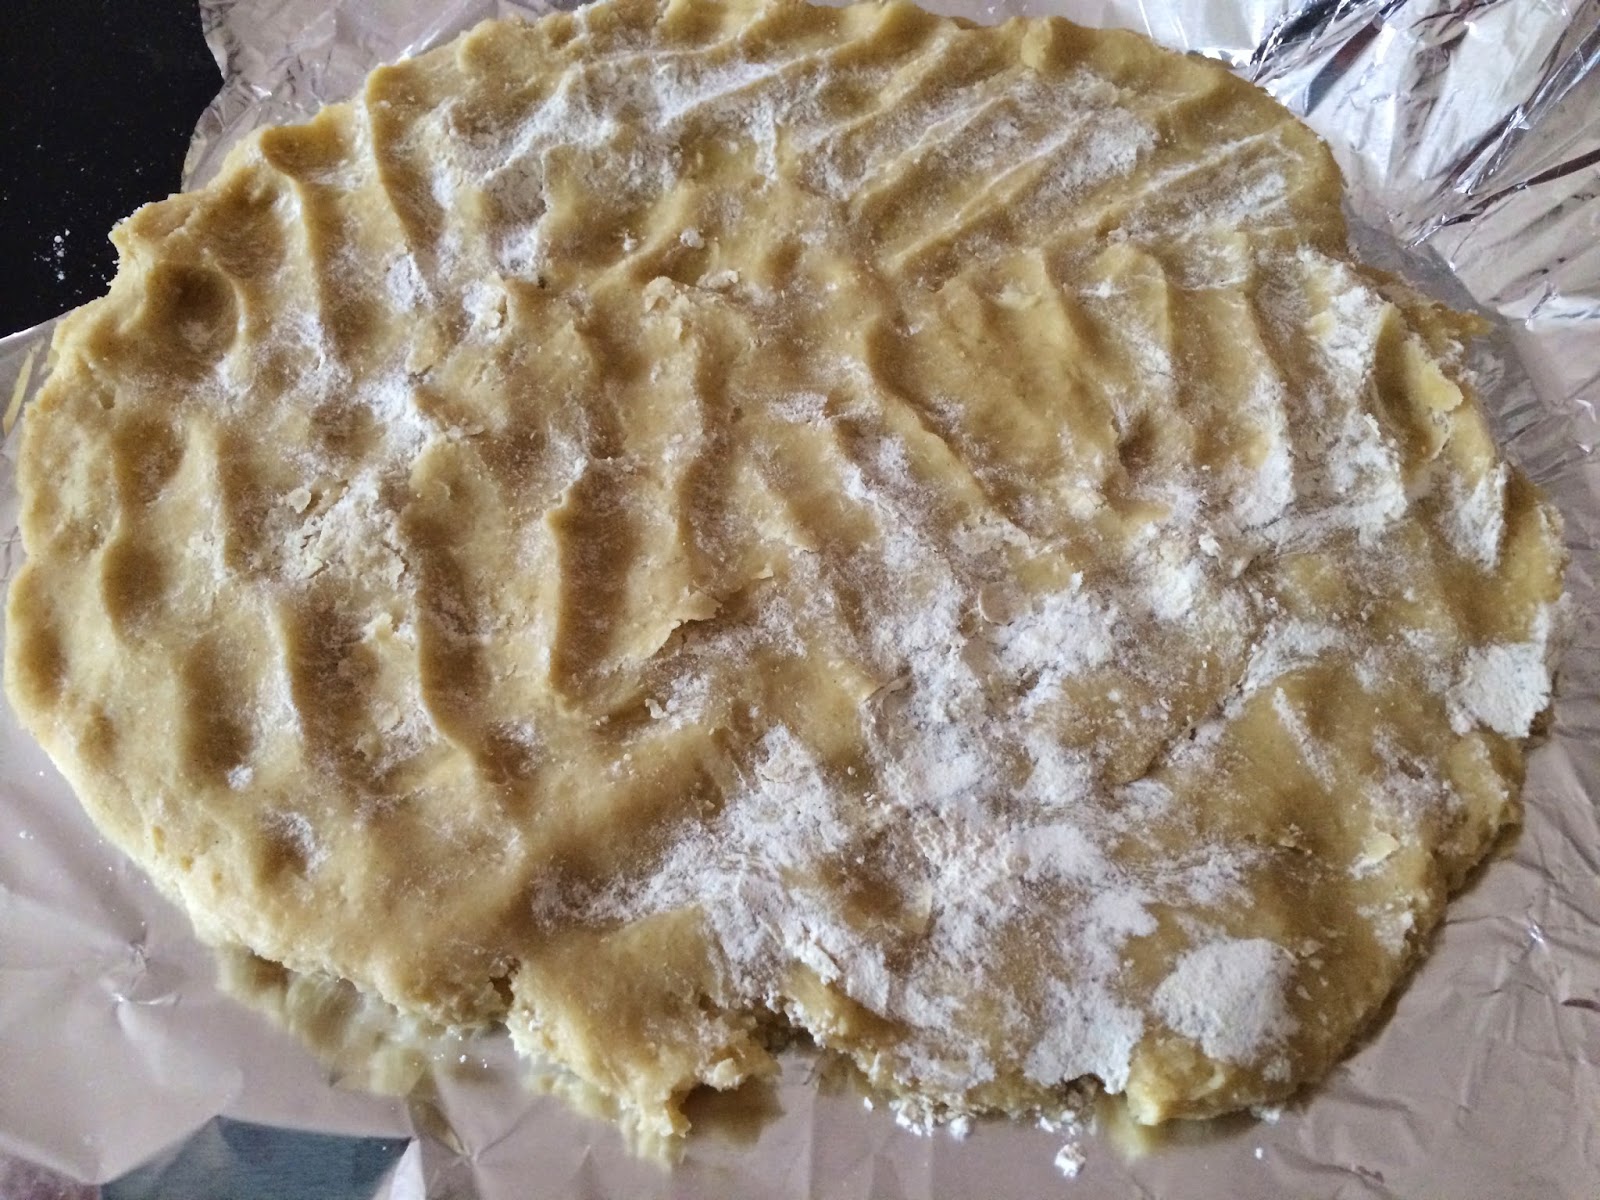
This recipe I served at our most recent get-together. It skirts ever so slightly around avoiding flour, as the crust is made with a gluten-free flour mix. But I was very taken by this tart, with its pretty spiral of ruby and gold beets and mound of ricotta, sharpened with feta crumbs and wild rosemary. The dough proved tricky to work with, as it was very sticky, but once flattened out (on some foil, to be safe) it baked up into a sturdy crust, texture reminiscent of a biscuit or scone. Slicing and serving was a cinch. 

I found the recipe through an amalgamation of old fashioned and mobile sources. It was recommended by my friend, who in turn found it in a cookbook by one of her favorite bloggers. As my friend and the cookbook reside in Michigan, she took a picture of the page and emailed it to me. And then I projected the recipe on my phone while I cooked. The recipe itself is similarly at odds with itself--the finished tart looks gloriously rustic, yet the crust required a trip to the now-stuffed shelf of alternative flours, a category which only recently showed up on grocery aisle signage. However you choose to recreate it, you'll have a bright, easy-to-eat offering for yourself, your dinner club, or your summer evening nosh.


Ricotta-Beet Tart (adapted from the Ricotta and Beet Galette with Teff Crust in Naturally Ella's cookbook)

Ingredients for crust*:
1 cup gluten-free all-purpose flour
1/2 tsp. salt
1 stick unsalted butter, cold
1 egg
1-2 TBSP ice water (I stick a cup of cold water in the freezer when I start to mix the crust. You could also just stick a couple ice cubes into a cup of water and use that immediately.)

Ingredients for filling:
4 beets (I used a mixture of golden and red)
1/2 tsp. salt
1 cup ricotta
1/4 cup crumbled feta
2 tsp. dried rosemary

Directions:
--Roast the beets. Preheat oven to 400 degrees F and oil a large baking pan. Peel beets and slice into 1/4-inch slices. Toss with salt and layer evenly in pan. Roast until a butter knife can slice through the beets, 40 to 50 minutes.
--Make crust. Mix flour and salt together. Cut butter into the flour, using two knives or your fingers. Once the butter is broken into pea-sized pieces, add egg and water. Stir until combined. Form in a ball and wrap in plastic wrap. Refrigerate for at least 30 minutes.
--Make filling. Mix together ricotta, feta, and rosemary. Refrigerate while you prepare the crust.
--Line a baking sheet with parchment or foil. Remove the pastry dough from the fridge and set on the parchment. Spread out into a dinner plate-sized oval (12 to 14 inches), covering hands with flour if it gets too sticky. Spread on ricotta mixture, leaving a 2-inch edge, and then layer the beets on top. Fold the edges of the crust over the filling.
--Bake 40 to 50 minutes, until crust feels firm. Let cool 20 minutes. Use the edges of the foil to transfer to a serving plate. Then carefully remove foil, using a spatula if necessary to lift up the tart so you can peel away the center bits.

*If you'd like to stick with a regular, full-wheat crust, I recommend this crust recipe. 


Tuesday, April 1, 2014

Homemade Wheat Thin Crackers

There are some items which, unless you benefit from an unusual skill and assortment of resources, you'll have a tricky time making at home. Fancy cheese (or even homely cheese, really) falls into this category. I'd love to house-make cheese, but quite frankly the process is rather beyond me at this point. Therefore, when the nearby cheese shop posts a sale, that's where I go. There's also something very transporting about entering a cheese shop and seeing the creamy pale wedges lined up, slivers offered on butcher paper by a sharp attendant who possesses an uncanny knowledge about dairy products. I bought a beautiful wodge of brie. But it occurred to me that I could make crackers to go with them.

The particular recipe I've got here is quite a good take on the store-bought Wheat Thins. It's got the sweet bite from the whole wheat flour, tempered with a good dose of salt, and the texture has a slight give, unlike the straightforward crunch of your average saltine. I do have the advantage of possessing a pasta maker, which proved extremely handy in rolling out the crackers. A rolling pin also does the job quite well. They bake up in a snap and, from my experience, go very well with a good brie cheese.

From Smitten Kitchen's Homemade Wheat Thins
Homemade Wheat Thin Crackers

Ingredients:
1 1/4 cups whole wheat flour
1 1/2 TBSP granulated sugar
1/2 tsp. salt
4 TBSP butter 

Directions:
--Whisk together flour, sugar and salt. Add butter and mix with a fork until fully mixed in. Add 1/4 cup water and stir until a dough begins to form. Use hands to form into a cohesive dough.
--If you happen to have a pasta maker, you can run golf ball-sized pieces through the lasagna attachment. If using a rolling pin, divide the dough into two pieces before rolling out. Roll on a floured surface into a rectangle as thin as you can get it.
--Preheat oven to 400 degrees F. Cut crackers into 1-inch squares and use a spatula or wide knife to transfer to two large baking sheets (line with parchment if your sheets aren't nonstick). Leave some room between crackers. Bake 5-7 minutes, or until crackers are lightly browned and crisp to the touch.


Saturday, January 11, 2014

Citrus-Beet-Cabbage Slaw

Perhaps slaw seems an odd recipe to recommend during winter; the refreshing ribbons bring to mind a summer picnic-table spread, one hand on a paper plate that bends alarmingly under its potluck selections and the other on a jug of lemonade, feet decorated with grass stain tattoos. That's not at all the case here. When I made it this past week, the bowlful took its spot on an elegantly laid table, bringing a group of neighbors in from the bitter cold to tuck into platefuls of risotto (unfortunately un-photogenic, although you can find the recipe here). It proved a good pairing with the soft, creamy rice-and-squash. And so I'd argue that this slaw, with the lemon and orange dispensing tropical allusions, fits any season and any table, whether accompanying a barbecue spread or a hot dish.

This dish is in fact a mash-up of two slaw recipes: I must have been running on purple, as I combined purple cabbage with beets, marinating the two in an orange-lemon vinaigrette for a couple hours. I've never eaten raw beets before, but here they're grated thinly enough that what begins as a tough, bulbous root calms down into acidic shreds of rich red goodness. Red cabbage is rarely a go-to for me, but here it takes up the zesty flavor of the citrus, giving a bite of crunch that's not harsh or earthy, but deliciously tart.


Adapted from Fine Cooking's Citrusy Beet, Parsnip, and Radish Slaw 

Citrus-Beet-Cabbage Slaw
Ingredients:
1 orange
1 lemon
1 tsp. honey
2 TBSP olive oil
salt and pepper
3 medium beets, peeled and shredded
1/2 red cabbage, thinly sliced

Directions:
--Zest orange and lemon. Juice both citruses and whisk together zest, juice, honey and oil. Add salt and pepper to taste. Add beets and cabbage and stir to coat with the vinaigrette. Let sit at least two hours before serving.


Thursday, November 21, 2013

Artichoke Dip


It's great to know what a little lemon, neufchâtel and artichokes can create. A simple toss of well thought-out ingredients and a crispy accompaniment (chips, crackers, carrots), and you've got an effortlessly crowd-pleasing appetizer. What's more, this recipe comes together extremely quickly. I'm prone to laborious (albeit fun) recipes that take multiple pans, steps, and oven temperatures, but this one's a snap to get together. It uses just one bowl. It can be made ahead. And the result? Creamy, acidic dip just right for veggies and crackers. And the following day, spread it on a sandwich, with a fresh lettuce leaf and tomato. Delightful.

Adapted from Simply Recipe's Artichoke Lemon Dip
Artichoke Dip
Ingredients:
1 14-oz can marinated artichoke hearts
8-oz neufchâtel cheese, room temperature
zest and juice from 1/2 lemon
1 1/2 tsp. dried parsley
1/4 tsp. salt
1 tsp. black pepper
1/3 cup shredded parmesan cheese

Directions
--Drain artichokes and cut into 1/2-inch pieces. In a medium bowl, mix neufchâtel cheese into a soft, creamy consistency. Add the rest of the ingredients to the cream cheese and mix until well combined. Stir in artichokes. Dip can be made ahead and refrigerated. Serve with crackers, toasted bread, or raw veggies.

Saturday, November 9, 2013

Baked Squash Fries with Lemon


Squash is not for the hungry. That is, it is best to prepare squash the day before you plan to eat it. Time and again I've made the mistake of returning home with a craving for a creamy orange slice, only to find myself with an hour and a half of desperate slicing, scooping, and baking standing between me and a full plate. Therefore, as of late, my mode of operation has been to always have cooked squash around the house (and even around the office—a tupperware full of the baked stuff stashed in the communal fridge, it turns out, provides an excellent antidote to the mid-afternoon munchies). I've been operating under the assumption that I will always want roasted squash when I get home,  which turns out to be pretty accurate.

This recipe put me in the path of two hitherto unused types of squash: carnival and delicata. While I remain most attached to the buttercup, they performed quite well as (baked) fries, soaking up the tangy lemon juice and roasting into a velvety soft texture. I kept the skin on, as I generally do with squash: it makes for a bold mixture of colors, and I like the variety of texture it imparts. Even in the slim fry form, they spent a good forty minutes in the oven, keeping the house warm and squash-flavored. The fries would benefit from just about any spice or flavoring you throw at them—balsamic and basil come to mind. But I'm very fond of the clean, fresh lemon.
Baked Squash Fries with Lemon
Ingredients:
2 medium squash (I used a delicata and a carnival, but one butternut or two acorn could be substituted)
zest and juice from 1/2 lemon
1/2 tsp. salt
1 tsp. pepper

Directions:
--Preheat oven to 400 degrees F. Lightly grease a large glass baking dish.
--Scrub squash skin with water (skip if you're skinning the squash before baking). Half squash and scoop out seeds. If desired, slice off skin. Cut squash into skinny strips, making as uniform as possible.
--Add squash to pan. Pour lemon juice and zest over squash and toss to coat. Sprinkle with salt and pepper. Bake for 40 minutes, stirring squash at 15-minute intervals to ensure even roasting. Remove when squash begins to caramelize on the outside, but is soft when pierced with a fork.

Thursday, September 19, 2013

Spinach-Ricotta Phyllo Cups

I love planning menus. It involves pure possibility—and none of the worry, sharp knives, and faulty oven mits that cooking so often includes. I spent one summer planning and serving themed dinners for my family. But the lists, charts, and diagrams I devised to create these menus far surpassed the number of meals that I actually produced. Such was the case for a recent an end-of-the-summer party, where I was granted the task of planning and making a spread of finger foods. I went quite overboard with ideas, and the first round of menu planning produced a dozen or so two-bite dishes—considerably more than I could logically execute. So after some meditating, I took a cleaver to the list to identify the crowd-pleasers. These simple ricotta-spinach cups survived the edit.

Sunday, September 15, 2013

Everything Crackers


What I love about this recipe is that it pairs two very beloved items in a very unexpected way. Buttermilk biscuits and everything bagels are combined in cracker form, the biscuit dough compressed to a point where its buttery layers create to an airy, crisp vessel for the spattering of seeds. It's the sort of thing I've never seen before and certainly wouldn't have thought up myself. Crackers I actually have no particular affinity for. But between my fondness for both biscuits and everything bagels—and the recipe's well-photographed feature in Fine Cooking—I decided I'd give it a shot.


Saturday, July 13, 2013

Edamame-Asparagus Salad with Herbed Greek Yogurt Dressing

I dearly love The New York Times for innumerable reasons, but I'll mention just a few. First, it gives me great delight to descend the stairs each morning and see sections of paper scattered across the kitchen table. They lie rumpled from an early-morning newsophile, and at the same time remain pristine enough to welcome the next set of eyes, which are a little blurry, but nonetheless eager to absorb its unflinching, insightful content. A second reason is their knack for suggesting excellent wines.

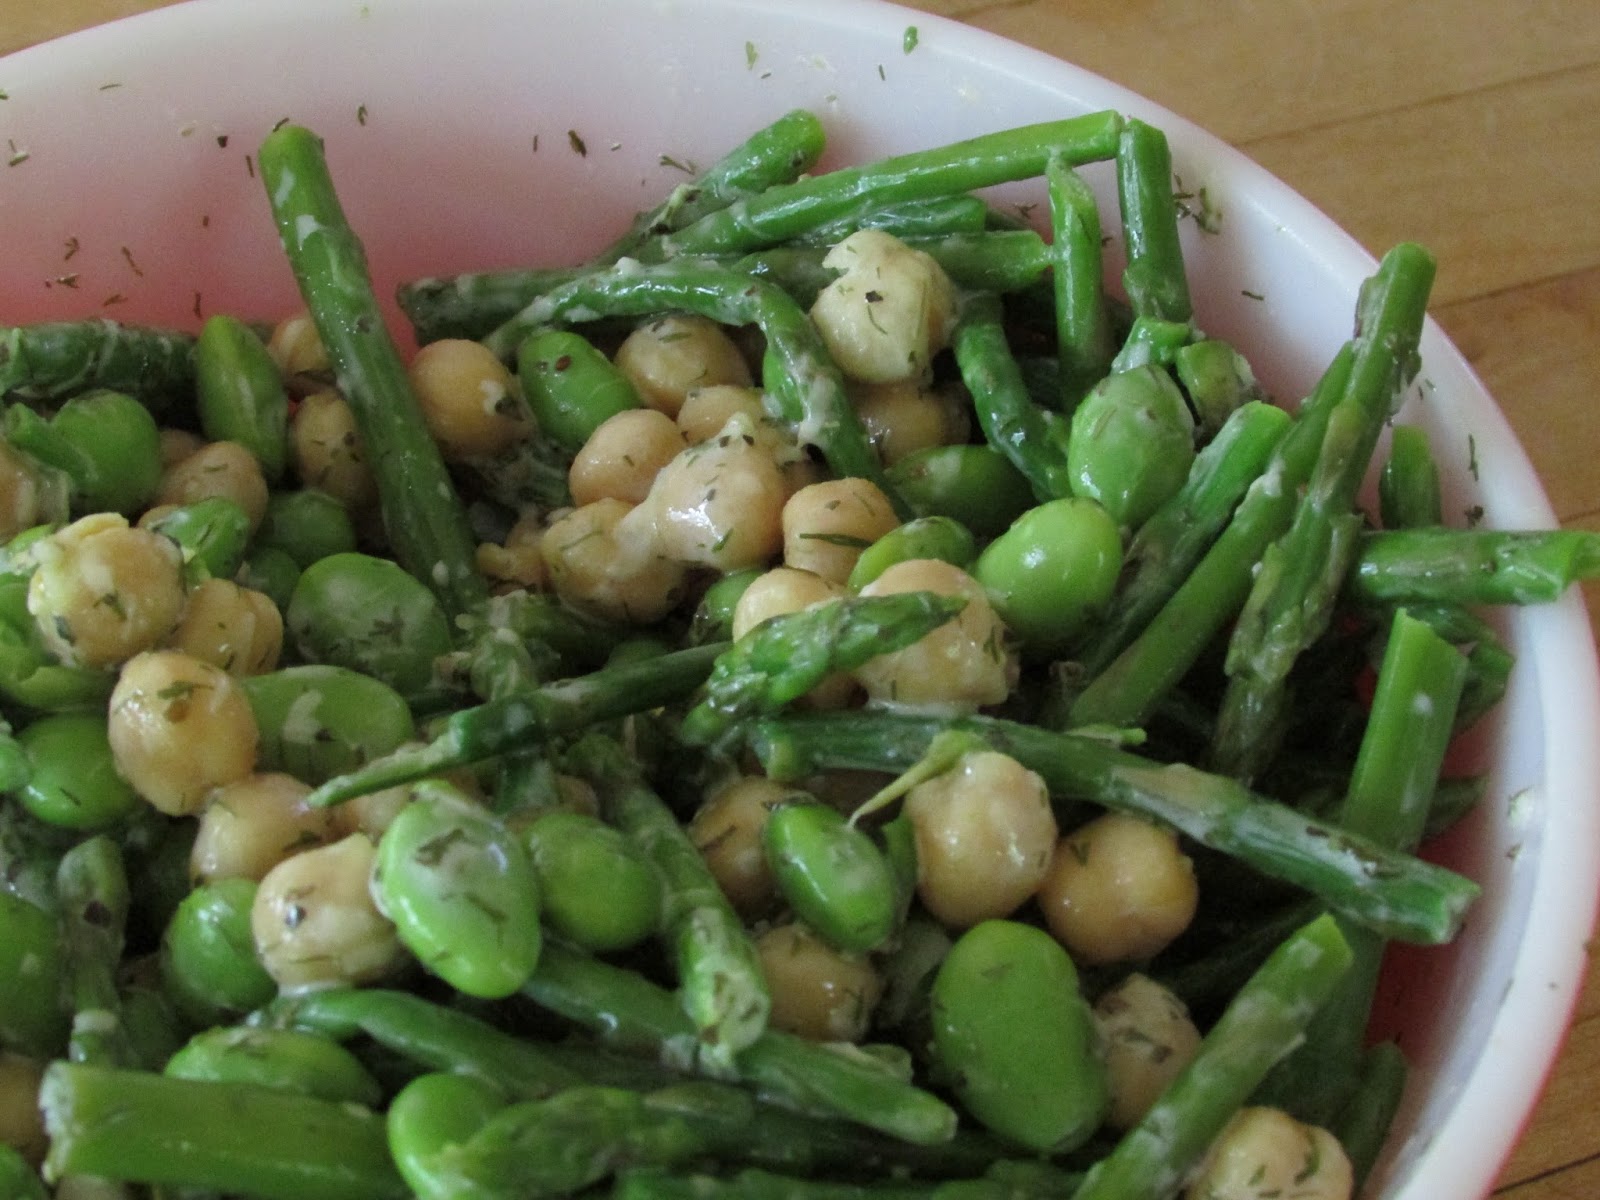
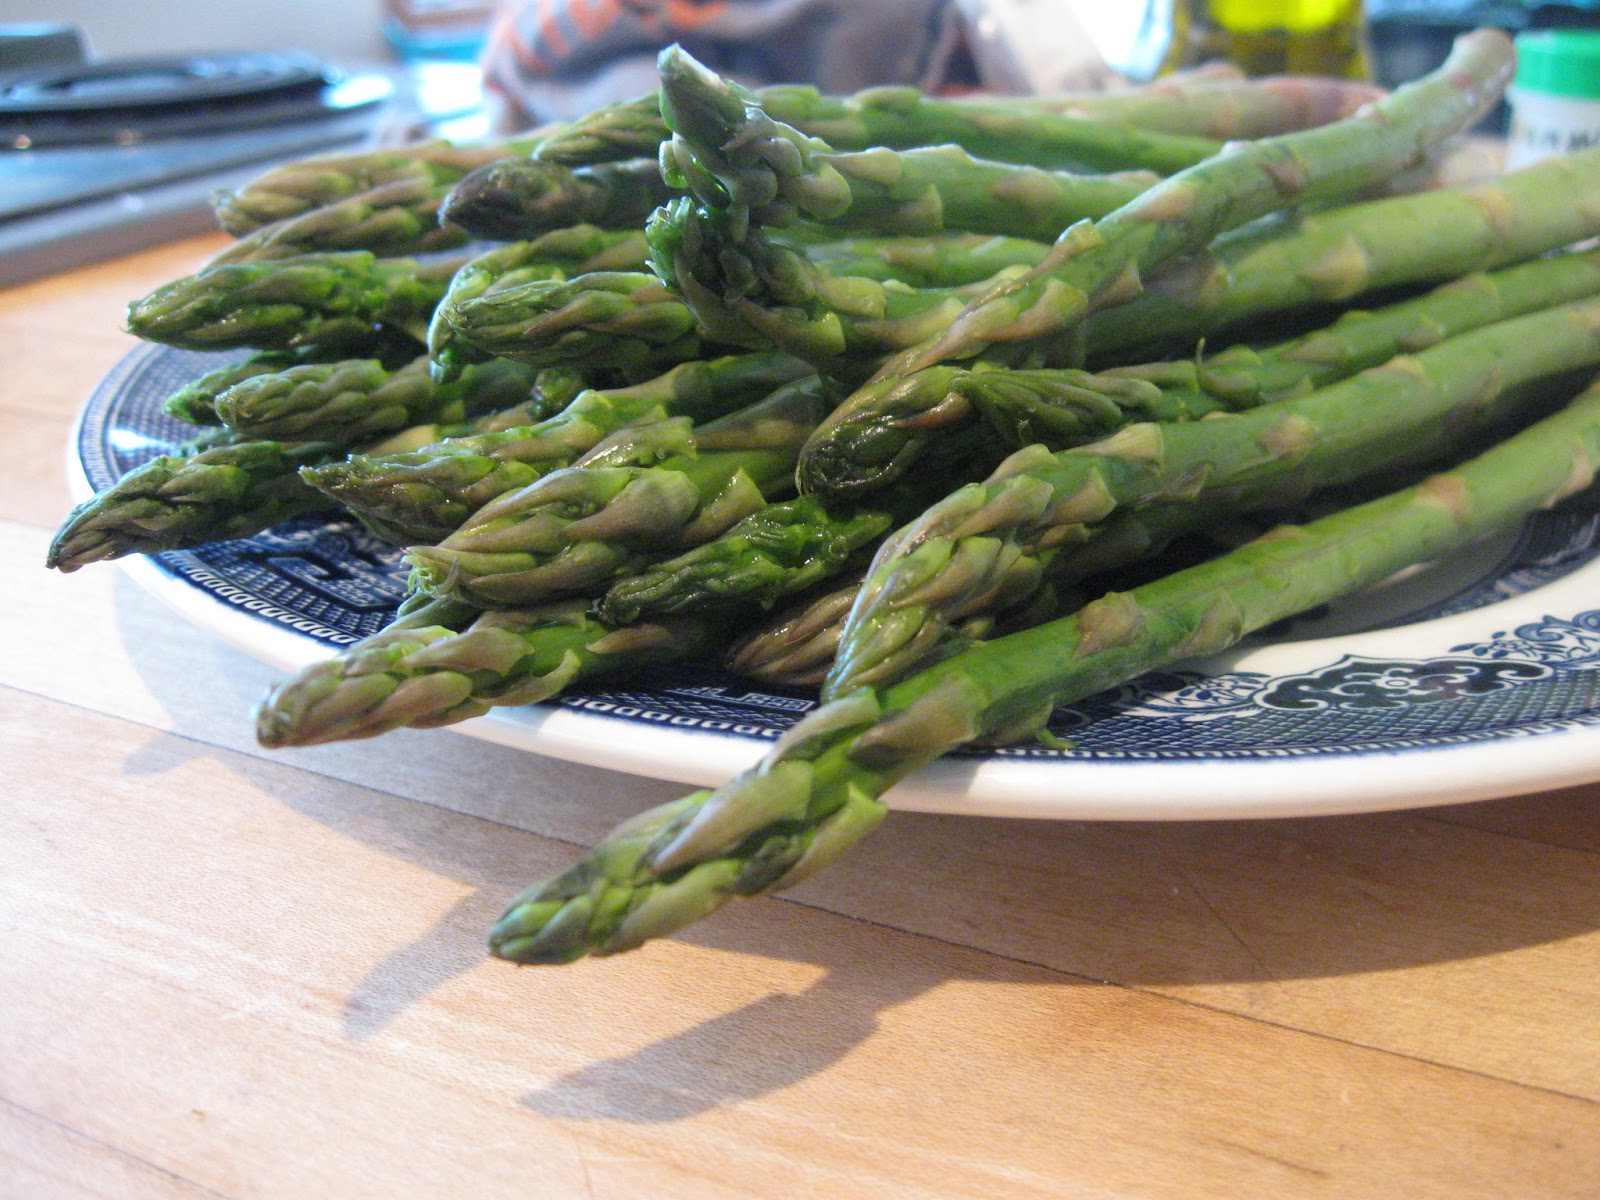
But we'll focus on a third reason for the time being: The NYT brought this recipe to my attention. It combined asparagus and chickpeas with fava beans and a yogurt dressing, offering a springtime dish I couldn't resist trying. I've never worked with favas before and haven't seen them at the local grocery, but they put me to mind of edamame, a relatively recent discovery for me. So I used soybeans instead, added more lemon then called for, and created a creamy, bright side dish.

Tuesday, June 25, 2013

Butternut Squash, Cherry & Camembert 'Squizzas'


I had a difficult time coming up for a name for this recipe.What I've done is taken thin slices of butternut squash, roasted them for a spell, and topped them with a sweet-salty mixture of cherries and cheese, the latter of which melts during a short return to the oven. I wanted something a little more sophisticated than 'squash rounds.' But calling them pizzas seemed misleading. I put this puzzle to a dear friend and fellow foodie, who suggested the very apt term 'squizzas.' For, in a sense, they are similar to pizza—the versatile, slightly sweet butternut lends itself to a wide range of toppings. And now they're as fun to say as they are to eat.

The recipe is very simple, although the slicing takes patience and a mite of caution, as the squash's flesh can seem reluctant to release a halfway-embedded knife. I left the squash skin on, being rather fond of its taste and texture. Skinning adds a couple additional minutes to the prep time. But the cherries and Camembert—stand-ins for the pizza's tomato and mozzarella, if you will—chop up quickly.  Because the squash and cherries are both quite sweet, the cheese provides a necessary savory element. The luscious, buttery nuggets of Camembert melt to near transparency. I do encourage experimentation with a variety of cheeses though. Brie would provide an excellent substitute.


Saturday, May 25, 2013

Spring Vegetable Roast

One of my dearest friends has a propensity for eating plain lemons. This is one of the first things I discovered during our fledgling friendship. We were twelve, with mothers who shared a disapproval of soda. They took us out to lunch, and after the waiter arrived with our water glasses, my friend took the lemon wedge from its secure perch on the rim and stripped the flesh clear off, chewing without a wince. Not to be outdone, I followed suit. After a period of acclimation, the habit stuck. Although I do wince as I swallow the tangy segments.

I don't know how widespread this lemon-eating tendency is among the general population, but this recipe encourages and requires some substantial lemon consumption. For anyone less inclined toward tart foods, not to worry: it uses Meyer lemons. Meyer lemons have a much sweeter taste and muted sourness, rather akin to an over-sized kumquat. Roasted to a near char, they are accompanied by cheery orange carrot chunks and lean stalks of asparagus.


Tuesday, May 7, 2013

Tempeh, marinated with Balsamic and Rosemary

I recall returning home for a mid-college visit last year, and in a pre-flight conversation with my family, I made one request. I asked that my mom make fried tempeh during my visit. She had introduced the food to me in this way, serving it as a side dish of small cubes, lightly fried for a clean flavor. I landed in Louisville late that evening, and both parents picked me up. A tupperware of tempeh was waiting in the car. I ate it all.

Thursday, February 7, 2013

Spinach-Ricotta Fritters

There is something to be said for the multicourse meal. On a normal night I'm cooking for myself, so dinner is more of a one-pot, one-meal deal. So when I spent the weekend with family a fortnight ago, I took advantage of a low-key Saturday afternoon to make a miniature feast. The day passed by in a blend of spices and National Public Radio as I concocted four dishes for the evening meal: pasta al cavolfiore, honey-mustard glazed tempeh, roasted root veggies and these spinach-ricotta fritters. I think I had three burners and the oven going at once at one point; it made for a very warm afternoon, which is a feat for a Minnesota January.
I am a huge ricotta fan; I find it lovely with a drizzle of balsamic, or rough scoops with pasta and black pepper. But it's a common bedfellow for spinach, and the pairing here is no exception. The spinach is lightly wilted, and then combined with the fluffy ricotta cheese. There's some parmesan and smoked mozzarella in there too, although I'd suggest whatever cheese you have on hand. A little egg and flour to bind essentially rounds out the ingredient list. These could certainly be baked, but I was really delighted with the luscious taste of the fried fritter.

Adapted from Spinach-Ricotta Fritters in Deborah Madison's Vegetarian Cooking for Everyone

Spinach-Ricotta Fritters
Ingredients:
16-oz bag of baby spinach, stems removed
1 lb ricotta
2 eggs
1/4 cup parmesan cheese, shredded
1/4 cup mozzarella, shredded (I used smoked)
1/4 cup flour
1 tsp. salt
1/2 tsp. pepper
1/2 tsp. nutmeg

Vegetable oil for pan

Directions:
--Place spinach in a pot with a small amount of water. Heat and cook just until spinach is wilted. Let cool and squeeze excess water from leaves. Chop roughly.
--Mix together ricotta, eggs, cheeses, flour, salt, pepper, and nutmeg. Add spinach and stir to combine.
--Pour oil in a large skillet until to a 1/2-inch depth. Heat on medium high until a small bit of fritter batter spits when added to oil. Using a large spoon, scoop batter in 1/4 cup portions onto pan, flattening tops slightly. I cooked 2-3 fritters at a time. Cook 4 minutes on each side, or until golden brown. Remove from oil with a slotted spatula and let cool on paper towels.

Wednesday, August 29, 2012

Dill Pickles

I have an unfortunate ability to eat gobs and gobs of pickles at a time. Along with blueberries and jelly beans, pickles are one of those foodstuffs that I consume in great quantities. Last year I discovered how simple it is to make homemade pickles, and I thought I'd share the recipe here. I quite like homemade pickles; they are considerably more cucumber-y than storebought, I've found, but still retain the salty, sour tang of the classic jar pickle.

Pickles are incredibly easy and rather quick to make. You quite possibly already have all the necessary ingredients; just make sure you've got enough vinegar. This recipe calls for one cup and makes two medium sized jars of pickles. And after just two hours of sitting in the brine, the pickles are ready to be eaten, or stored away for another day (or later that evening). This recipe does make a slightly sweeter pickle than your average dill, so I might suggest skimping on the amount of sugar called for, if you'd like to avoid any hints of sweetness.

Adapted from Everyday Food Magazine's Dill Pickle Spears recipe.
Dill Pickles
Ingredients:
4-6 Kirby Cucumbers (Kirby cukes are smaller than regular cucumbers, about three to six inches. I found some in my regular grocery store)
1 cup white wine vinegar
1/4 cup sugar
2 TBSP coarse salt
1 tsp dill seed
2 garlic cloves, peeled and chopped

Directions:
--Cut cucumbers into quarters lengthwise. Put in medium bowl.
--In a medium saucepan, bring to a boil vinegar, sugar, salt, dill seed and garlic with two cups water. Stir until salt and sugar are dissolved. Pour over cucumbers.
--Use a small plate to submerge cucumbers in liquid. Refrigerate in bowl, about two hours. Transfer to airtight container and refrigerate for up to two weeks.