Wednesday, November 19, 2014

Worcestershire-Glazed Brussels Sprouts

The process of making this dish brought to mind the phrase mon petit chou. It's a French term of endearment, and while the official definition declares that chou refers to a sweet pastry, I rather like the alternate translation,  'my little cabbage.' Let's agree that pastries may be universally beloved, whereas showing affection for a cabbage requires a greater commitment to the item in question. Either way, in the absence of my own chou whose size I can evaluate, I've gone ahead and made a whole bowlful of miniatures cabbages, to snack on, savor, and share. Fall has dumped its flavors into the produce troughs so I may wander through the grocery store and weigh down my arms with mole-ridden squash, half-piece pecans, and satchels of Brussels sprouts. The sprouts shed their leaves along the conveyor belt, as they're scrubbed clean, even as they lie on the cutting board. Despite the stray leaves, I (and you) will still be left with more than enough to make a pot-ful of tangy, pleasingly toothsome, very little, vegetables. 

Worcestershire has this lovely smokey-sweet quality that cloaks the sprouts, inviting their ruffles to soak up the sauce. It's a satisfying bite. Add a hit of dried basil, summer's vestiges, and you've got a dish that delivers the warmth just right for a cozy winter night and a memory of those sun-hazy days. 

Worcestershire-Glazed Brussels Sprouts

Ingredients:
1 lb. Brussels sprouts
2 TBSP olive oil
1 tsp. garlic powder (or four cloves of garlic, peeled and sliced)
1 TBSP worcestershire sauce (I used the vegetarian kind)
several pinches of dried basil

Directions:
--Halve Brussels sprouts. In a medium saucespan, heat olive oil. Add Brussels sprouts and garlic powder or garlic and sautee for 5 minutes or until leaves begin to wilt.
--Pour worcestershire sauce to the pan and continue cooking until the brussels sprouts are fork-tender. Add water by the tablespoon as necessary to help them cook. Remove from heat and sprinkle on basil just before serving.


Wednesday, November 5, 2014

Pumpkin Petit Fours

I used to pore over King Arthur catalogs, from the 'Sir Lancelot' flour mixture (what made this flour so heroic I'm not sure—the name alone merited it a penciled star in the catalog) to a selection of whisks, from wee ones  to giant, balloon-shaped mixers. Many of their products have somewhat narrow uses, but I found a strong sense of possibility in paging through the gadgets and ingredients. Pizza-sized spatulas! Monochromatic sugar-dusted cookies! Finally, armed with a generous gift card to the mail-order service (a trip to the Vermont retail store and bakery, alas, is yet to come together), I bought the following: a bundt pan that made six perfect maple leaf-shaped cakes. Only terribly useful for one season out of the four. But such perfectly shaped cakes!

This recipe, sans pan, is infinitely more flexible. You do not need a maple-leaf pan to make this cake successful—far from it. In fact, it's quite the pain to clean (all those leaf tendons), although the result is rather pretty. I've made this cake in a few forms, and it always turns out very tasty. You'll just want to increase the baking time and dip the knife in warm water between slices. When properly baked, the cake's top forms a shiny, near gooey layer. No frosting needed. Just pumpkin, spiked by cinnamon, ginger, nutmeg—all the good stuff you'd expect in a fall dessert. 

Adapted from Smitten Kitchen's Pumpkin Cupcakes
Pumpkin Petit Fours
Ingredients:
1 stick unsalted butter, room temperature
1 cup brown sugar
1/3 cup granulated sugar
2 cups unbleached, all-purpose flour
2 tsp. baking powder
1 tsp. baking soda
1 tsp. ground cinnamon
1/2 tsp. ground ginger
1/2 tsp. ground nutmeg
1/4 tsp. ground gloves
1/2 tsp. salt
2 eggs
1/2 cup buttermilk (I didn't have any, so I made sour milk: 1/2 TBSP apple cider vinegar mixed with enough milk to make 1/2 cup of liquid)
1 1/2 cups canned pumpkin

Directions:
--Cream together butter and sugars. In another bowl, mix together dry ingredients. Whisk eggs into butter mixture and then add flour mixture and buttermilk, alternating between the two as you mix. Add pumpkin and stir until fully combined.
--Preheat oven to 350 degrees F. Line a muffin tin with muffin cups or grease an 8x8-inch or 9x13-inch pan. Pour batter into the pan(s). Bake 12 minutes for muffins, 18 minutes for 9x13-inch pan, and 20 minutes for 8x8-inch pan.


Sunday, October 19, 2014

Chocolate Bread

What a pretty loaf. While I think many breads are pretty (something about the spongy dough blooming into a sturdy baked boule just warms the heart), I'd say this chocolate bread rises to the top for its strikingly dark crust. I was hankering for a new dimension to knead into a whole wheat dough, having already explored some of the more common accompaniments—honey, ginger, oat. Enter cocoa: an unexpected addition that lends itself to both sweet and savory. A dash of cinnamon put the loaf under the umbrella of harvest foods, an area that lately seems to be dominating the grocery aisles and my household alike.

Be warned: this loaf is intense. Consider it the stout of breads, with a sweet aroma, dark bite, dense crumb, and spicy finish. In addition to providing a very deep, coffee-brown color, the cocoa powder delivers a hearty warmth of flavor that would equally well counterbalance peanut butter or mustard and a sharp cheese. I ate mine with squash sauce. One note to consider before slicing open the yeast packet: in addition to the rising time required (two to three hours total), you'll want to dedicate a good 10 to 20 minutes to kneading, depending on your level of patience. The longer you knead, the more chewy and satisfying the texture.
Adapted from Whole Baking Grain's Whole Wheat Chocolate Cinnamon Yeast Bread
Chocolate Bread

Ingredients:
2 1/2 cups water
1/2 TBSP apple cider vinegar
1 TBSP active dry or instant yeast
4 cups whole wheat flour, divided
1/4 cup olive oil
1/4 cup honey
1/4 cup unsweetened cocoa powder
1 TBSP cinnamon
1/2 tsp. salt

Directions
--Heat water to wrist-temperature. Add vinegar, yeast, and 2 1/2 cups flour and mix until combined. Let rest 30-40 minutes; you should start to see bubbles in the mixture.
--Mix together oil, honey, cocoa, cinnamon, and salt. Once yeast mixture is starting to bubble, stir in chocolate mixture. Add 1 1/2 cups flour gradually, beginning to knead once the mixture is firm enough to handle with your hands. Keep kneading for 10-20 minutes; the dough will be sticky, but firm enough to stay together in one mass.
--Cover bowl and let rise in a warm place until doubled, about an hour
--Oil two loaf pans. Separate dough into two balls; divide each into three pieces and use your hands to smooth the pieces into ropes. Braid dough ropes on a flat surface and transfer to the pans. Let rise until doubled again, about an hour and a half.
--Preheat oven to 350 degrees F. Bake for 30 minutes or until loaves sound hollow when tapped.

Monday, October 13, 2014

Butternut Squash-Yogurt Sauce

Time for fall, time for squash. Time for a change in leaf color, in apparel, in the type of weather you discuss on the elevator ride up. Time for feeling excited upon exiting the apartment, not because you're headed anywhere particularly interesting, but because the air gently teasing your windbreaker is bright and bold and carries an offer of change that says Good. Time for layers, peeled off indoors, packed on outdoors, then peeled off again once the sun bullies its way through the crisping leaves. Time for frisky dogs. Time for down comforter capes. Time for turning the oven on too early, just so that the whole kitchen feels like an oven. Time for acrobatic maneuvers to get from real clothes-to-jammies-to-bed in as little time as possible. Time for faces warmed in hot tea's steam. Time for bowls of mush that are delicious because that mush is squash mush. Time for fall.


Butternut Squash-Yogurt Sauce
Ingredients
1 medium butternut squash
1 TBSP olive oil
1 tsp. salt
2 tsp. dried basil
1/2 tsp. garlic powder (use 3 unpeeled, whole garlic cloves if you have them. I did not)
1/4 cup greek yogurt
1/3 cup water

Directions
--Preheat oven to 375 degrees F. Dice squash and place in an 8x8-inch, foil-lined baking pan. Add oil, salt, basil, and garlic powder and toss to coat the squash. NOTE: Eventually you will want to remove the squash skin. I did so after roasting and found it very easy, if time consuming. You can peel the squash beforehand, but will likely lose a little more of the flesh.
--Roast for 35 minutes or until squash is fork-tender. Remove from oven and when cool enough to handle, add to a blender. (If you roasted skin-on, remove before adding to the blender by scraping the flesh off with a fork). Add yogurt and water and blend until smooth.

Wednesday, August 13, 2014

Roasted Rhubarb-Ginger Crisp


The switch from avoiding to loving rhubarb occurred just about a year ago, and to commemorate, I thought I'd explore the origins of my dislike for the stalks. It remains a bit of a mystery to me. There are no stories of undercooked rhubarb trauma. No tales of being force fed rhubarb mush. I don't even recall that it appeared too often in my own kitchen. Here's what I do recall.

When I was little, we frequently attended multi-family potlucks, where a rotating host provided the runner table and a vast backyard for little ones to explore and even littler ones to run after them, always a few steps too slow to be welcomed to the game. One after another, people emerged from their station wagons and minivans, in twos and threes, tree-trunk and spindly arms alike wrapped around earthenware full of broccoli and rice, vegetable terrines, stewed eggplant. The desserts usually arrived in pie dishes (or perhaps these I most often gravitated toward). The seasons largely dictated the offerings: squash and apple in autumn, berries and rhubarb in summer. And in those warm, August gatherings, there would sit a pie whose lattice crust, embroidered in sugar, bound a bright red filling. I'd eye it, and nudge my mother (or another nearby trusted adult). 

"What kind of pie is that?"

And if, "strawberry rhubarb," was the answer, I hastily moved on. Some vague, visceral premonition of stringy, tart mouthfuls turned me away. A second serving of blueberry would suffice.

Now, of course, I realize I very likely missed some incredible pies. Having made and tasted rhubarb in a number of forms (most recently, in risotto and on crostini), I find the flavor impeccable, and declare my past dislike a phantom revulsion. My pleasure in downing this particular creation is a case in point. 

Rhubarb outdoes itself when roasted. After a half hour of soaking up sugar and ginger, the fruit takes a slow bake in a hot oven, breaking down and absorbing the sugar—to the point where the fruit becomes velvety soft without losing its tart essence. This recipe was originally a tart, but I'll be utterly honest here: I didn't feel like making pie crust. It has its place and time, no doubt, but this afternoon I was wanting for something simple and easy—and between the deep flavors of the rhubarb roast and the snappy spiced crunch of the topping, I figured I had enough for a dessert without the hassle.
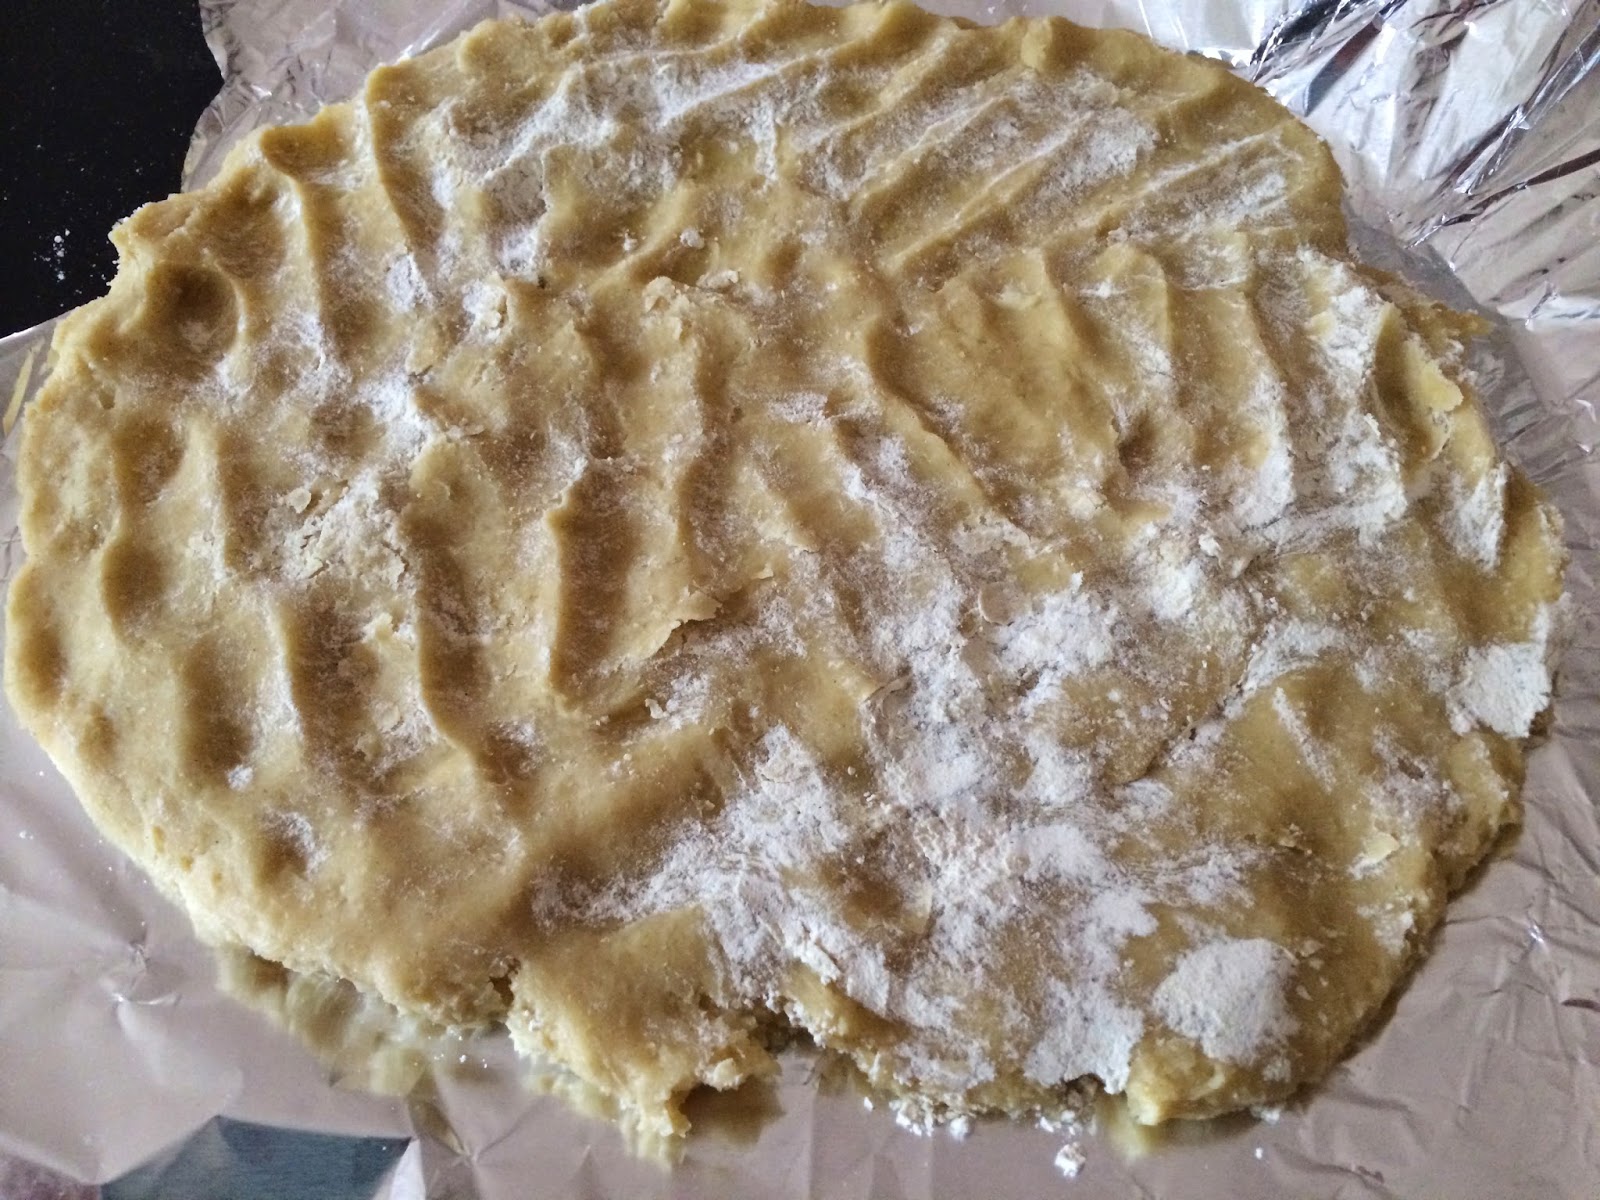
Roasted Rhubarb-Ginger Crisp (adapted from Fine Cooking's Roasted Rhubarb and Ginger Streusel Tart)

Ingredients:
1-1/2 lb. rhubarb, ends cut off and sliced into 2-inch pieces (I used two bunches of rhubarb)
3/4 cup granulated sugar
1/4 tsp. salt
1/2 tsp. ground ginger, divided
1/2 cup rolled oats (not instant)
1/2 cup unbleached all-purpose flour
2 TBSP granulated sugar
1 TBSP light brown sugar
1/4 tsp. salt
4 TBSP unsalted butter, room temperature or melted (use shortening to make vegan)
1 1/2 TBSP finely chopped crystallized ginger

Directions
--Toss rhubarb with sugar, salt, and 1/4 tsp. ginger. Let sit 30 minutes, stirring occasionally. Preheat oven to 400 degrees F. Pour rhubarb into a 9x13-inch baking pan, cover with foil, and roast for 10 minutes. Remove the foil, give the rhubarb a stir, and return it to oven for 15 minutes more. A bubbling syrup should form by this time. Take the rhubarb out of the oven and scoop into an 8- or 9-inch pie pan with a slotted spoon. Discard the syrup that's left or reserve to use as an ice cream topping.
--Reduce oven temperature to 350 degrees F.
--In a medium bowl, mix together all other ingredients. If using room temperature butter, cut into pea-sized pieces with a pastry cutter, knives, or your fingers.
--Sprinkle topping over the rhubarb Bake 35 minutes, or until the rhubarb is bubbling and topping is golden brown. 


Sunday, August 3, 2014

Ricotta-Beet Tart (Gluten-Free)

For someone who likes to cook, there is little else as pleasing as a party of good eaters. And I've had the fortune to happen upon one such group, who not only enjoy a good multi course meal, but are game for just about anything I concoct, whether it's dainty, airy-fairy finger foods or a comforting pot of winter stew. Consider them my dinner club--we get together every so often (never often enough) for outrageously long meals, where the wine is passed around, plates are filled multiple times, and conversation winds from neighborhood happenings to the Star Trib's latest theater review. One of these eaters is also gluten-free, which challenges me to look for recipes beyond my normal repertoire of, well, bread and cake. And, luckily, I have a good friend who has recently embarked on the adventure of experimenting with non-wheat flours and supplies me with her favorite creations.

This recipe I served at our most recent get-together. It skirts ever so slightly around avoiding flour, as the crust is made with a gluten-free flour mix. But I was very taken by this tart, with its pretty spiral of ruby and gold beets and mound of ricotta, sharpened with feta crumbs and wild rosemary. The dough proved tricky to work with, as it was very sticky, but once flattened out (on some foil, to be safe) it baked up into a sturdy crust, texture reminiscent of a biscuit or scone. Slicing and serving was a cinch. 

I found the recipe through an amalgamation of old fashioned and mobile sources. It was recommended by my friend, who in turn found it in a cookbook by one of her favorite bloggers. As my friend and the cookbook reside in Michigan, she took a picture of the page and emailed it to me. And then I projected the recipe on my phone while I cooked. The recipe itself is similarly at odds with itself--the finished tart looks gloriously rustic, yet the crust required a trip to the now-stuffed shelf of alternative flours, a category which only recently showed up on grocery aisle signage. However you choose to recreate it, you'll have a bright, easy-to-eat offering for yourself, your dinner club, or your summer evening nosh.


Ricotta-Beet Tart (adapted from the Ricotta and Beet Galette with Teff Crust in Naturally Ella's cookbook)

Ingredients for crust*:
1 cup gluten-free all-purpose flour
1/2 tsp. salt
1 stick unsalted butter, cold
1 egg
1-2 TBSP ice water (I stick a cup of cold water in the freezer when I start to mix the crust. You could also just stick a couple ice cubes into a cup of water and use that immediately.)

Ingredients for filling:
4 beets (I used a mixture of golden and red)
1/2 tsp. salt
1 cup ricotta
1/4 cup crumbled feta
2 tsp. dried rosemary

Directions:
--Roast the beets. Preheat oven to 400 degrees F and oil a large baking pan. Peel beets and slice into 1/4-inch slices. Toss with salt and layer evenly in pan. Roast until a butter knife can slice through the beets, 40 to 50 minutes.
--Make crust. Mix flour and salt together. Cut butter into the flour, using two knives or your fingers. Once the butter is broken into pea-sized pieces, add egg and water. Stir until combined. Form in a ball and wrap in plastic wrap. Refrigerate for at least 30 minutes.
--Make filling. Mix together ricotta, feta, and rosemary. Refrigerate while you prepare the crust.
--Line a baking sheet with parchment or foil. Remove the pastry dough from the fridge and set on the parchment. Spread out into a dinner plate-sized oval (12 to 14 inches), covering hands with flour if it gets too sticky. Spread on ricotta mixture, leaving a 2-inch edge, and then layer the beets on top. Fold the edges of the crust over the filling.
--Bake 40 to 50 minutes, until crust feels firm. Let cool 20 minutes. Use the edges of the foil to transfer to a serving plate. Then carefully remove foil, using a spatula if necessary to lift up the tart so you can peel away the center bits.

*If you'd like to stick with a regular, full-wheat crust, I recommend this crust recipe. 


Tuesday, July 22, 2014

Meyer Lemon Crumb Cake


Get your summer in a cake, right here. With tangy crumbs, citrus-spiked icing, and streusel so buttery it's evocative of pie crust, there's an element to please every dessert eater. Meyer lemons forego the wincing tartness of their regular counterparts, so they're milder, but still inject a refreshing, sour-sweet shot. The cake itself has three parts and one quirk. You've got the batter, streusel, and icing. Then you've got the lemons, which undergo a quick boil and some time to rest before they're layered straight onto the cake. (The original recipe says to leave the skins on, but after test-tasting one and finding it required too vigorous a chew, I opted for removing them.) 

I made the cake to round out a Fourth of July dinner with my relatives. We supped on caprese stacks and shaved asparagus salad before clearing our big plates and replacing them with the little frilly-edged paper ones that signal dessert (always ice cream, along with any accompaniment I contribute) is at hand. It was the sort of dinner that spanned a veritable range of topics, from the FIFA World Cup to neighborhood news, to The New Yorker recommended reads, where you get the sense that everyone left the table having said a little bit of what they wanted to say, and having learned a little bit of something new. They also left the table with plates quite clean, save for the crumbs of a graciously devoured cake. 

Adapted from Martha Stewart's Meyer Lemon Coffee Cake
Meyer Lemon Crumb Cake
Ingredients:
For Struesel:
1 3/4 cups unbleached, all-purpose flour
3/4 cup granulated sugar
1 tsp. salt
1/2 cup (1 stick) unsalted butter, cold.

For Cake:
5 Meyer lemons, cut into thin slices and ends discarded
2 cups unbleached, all-purpose flour
1 tsp. baking powder
1 tsp. baking soda
1 1/2 tsp. salt
1/2 cup (1 stick) unsalted butter, room temperature
1 cup granulated sugar
zest from 5 Meyer lemons
1 tsp. vanilla extract
2 eggs
1 tsp. vanilla extract
1 cup sour cream (you can substitute yogurt or buttermilk if you like)

For Icing:
1 cup powdered sugar
juice from 5 Meyer lemons

Directions:
--Make streusel. Mix together dry ingredients. Cut butter into small chunks and stir into flour mixture, using a pastry cutter, two knives, or your fingers to mix in the butter. Cover and refrigerate until ready to use.
--Fill a medium saucepan a third of the way with water and bring to a simmer. Cook the lemon slices in simmering water for one minute. Drain the water, re-fill the pan, and repeat. Arrange lemons in a single layer on parchment or waxed lined sheet. When cool enough to touch, remove lemon flesh from the rind.
--Make the batter. Preheat oven to 350 degrees F. Butter and flour a 9-inch bundt pan. Mix together flour, powder, soda, and salt. In a medium bowl, cream together butter, sugar, zest, and vanilla. Once well incorporated, add eggs one at a time. Add the flour mixture in three parts, alternating with the sour cream.
--Pour half the batter into the prepared pan, and layer on half the lemons. Spread the rest of the batter in the pan, topping with remaining lemons. Sprinkle with streusel, using your fingers to pinch some of the mixture into big clumps. Bake 50 minutes, or until a knife inserted into the cake's center comes out clean.
--While the cake cools, make the icing. Sift powdered sugar over a bowl filled with the lemon juice and stir; icing should be fairly runny. When the cake has cooled for at least 10 minutes, pour on the icing.