Showing posts with label Vegetables. Show all posts

Saturday, November 9, 2013

Baked Squash Fries with Lemon


Squash is not for the hungry. That is, it is best to prepare squash the day before you plan to eat it. Time and again I've made the mistake of returning home with a craving for a creamy orange slice, only to find myself with an hour and a half of desperate slicing, scooping, and baking standing between me and a full plate. Therefore, as of late, my mode of operation has been to always have cooked squash around the house (and even around the officea tupperware full of the baked stuff stashed in the communal fridge, it turns out, provides an excellent antidote to the mid-afternoon munchies). I've been operating under the assumption that I will always want roasted squash when I get home,  which turns out to be pretty accurate.

This recipe put me in the path of two hitherto unused types of squash: carnival and delicata. While I remain most attached to the buttercup, they performed quite well as (baked) fries, soaking up the tangy lemon juice and roasting into a velvety soft texture. I kept the skin on, as I generally do with squash: it makes for a bold mixture of colors, and I like the variety of texture it imparts. Even in the slim fry form, they spent a good forty minutes in the oven, keeping the house warm and squash-flavored. The fries would benefit from just about any spice or flavoring you throw at thembalsamic and basil come to mind. But I'm very fond of the clean, fresh lemon.
Baked Squash Fries with Lemon
Ingredients:
2 medium squash (I used a delicata and a carnival, but one butternut or two acorn could be substituted)
zest and juice from 1/2 lemon
1/2 tsp. salt
1 tsp. pepper

Directions:
--Preheat oven to 400 degrees F. Lightly grease a large glass baking dish.
--Scrub squash skin with water (skip if you're skinning the squash before baking). Half squash and scoop out seeds. If desired, slice off skin. Cut squash into skinny strips, making as uniform as possible.
--Add squash to pan. Pour lemon juice and zest over squash and toss to coat. Sprinkle with salt and pepper. Bake for 40 minutes, stirring squash at 15-minute intervals to ensure even roasting. Remove when squash begins to caramelize on the outside, but is soft when pierced with a fork.

Saturday, July 13, 2013

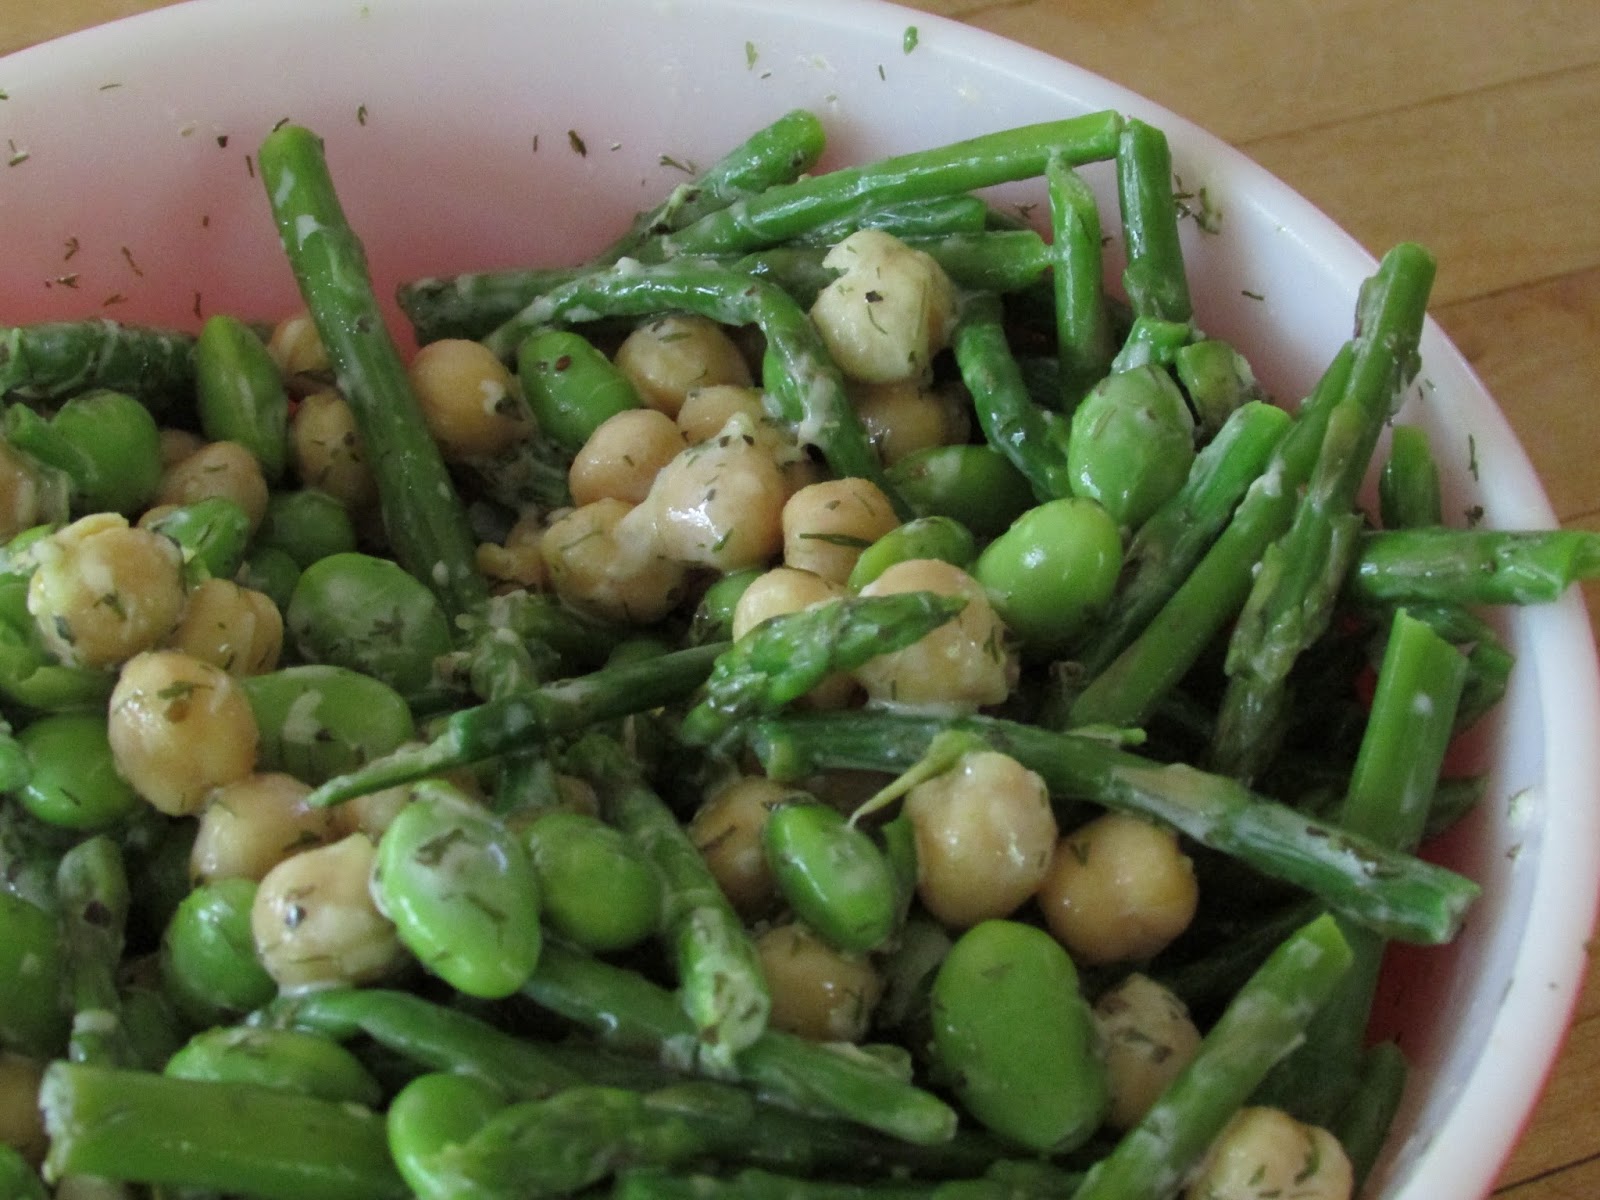
Edamame-Asparagus Salad with Herbed Greek Yogurt Dressing

I dearly love The New York Times for innumerable reasons, but I'll mention just a few. First, it gives me great delight to descend the stairs each morning and see sections of paper scattered across the kitchen table. They lie rumpled from an early-morning newsophile, and at the same time remain pristine enough to welcome the next set of eyes, which are a little blurry, but nonetheless eager to absorb its unflinching, insightful content. A second reason is their knack for suggesting excellent wines.

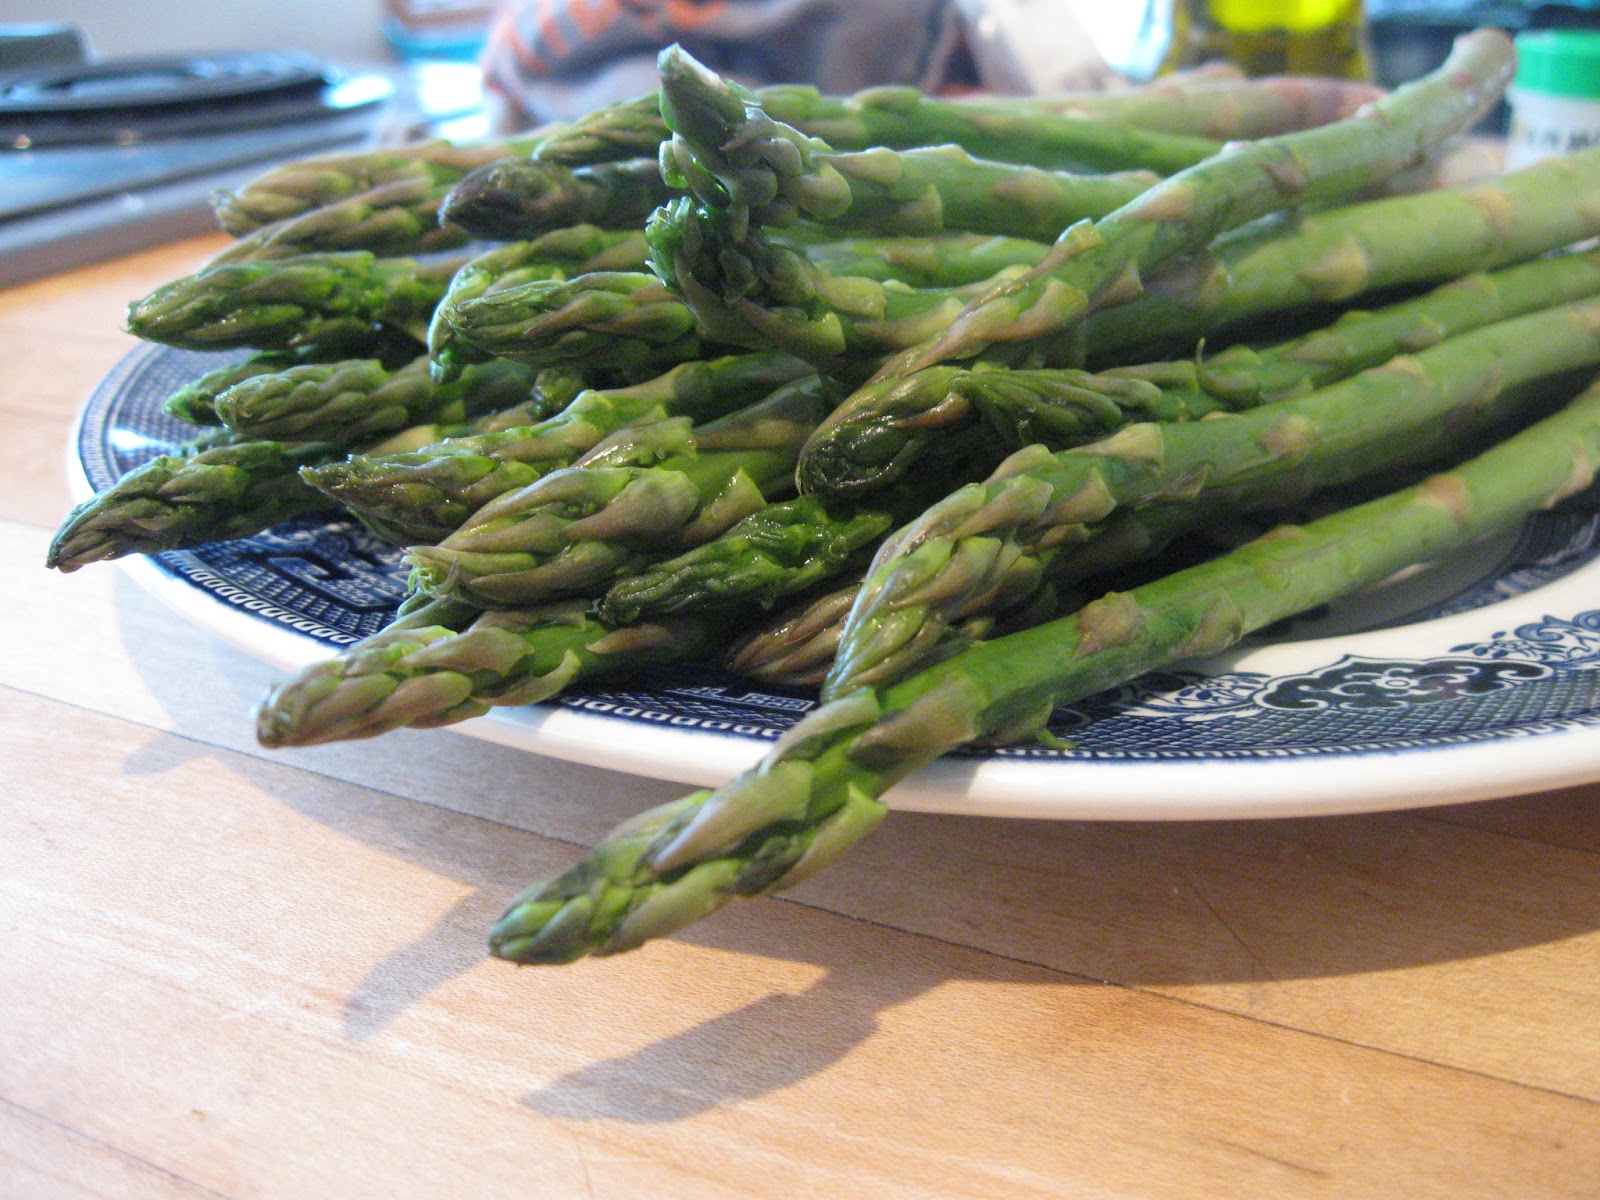
But we'll focus on a third reason for the time being: The NYT brought this recipe to my attention. It combined asparagus and chickpeas with fava beans and a yogurt dressing, offering a springtime dish I couldn't resist trying. I've never worked with favas before and haven't seen them at the local grocery, but they put me to mind of edamame, a relatively recent discovery for me. So I used soybeans instead, added more lemon then called for, and created a creamy, bright side dish.

Tuesday, June 25, 2013

Butternut Squash, Cherry & Camembert 'Squizzas'


I had a difficult time coming up for a name for this recipe.What I've done is taken thin slices of butternut squash, roasted them for a spell, and topped them with a sweet-salty mixture of cherries and cheese, the latter of which melts during a short return to the oven. I wanted something a little more sophisticated than 'squash rounds.' But calling them pizzas seemed misleading. I put this puzzle to a dear friend and fellow foodie, who suggested the very apt term 'squizzas.' For, in a sense, they are similar to pizzathe versatile, slightly sweet butternut lends itself to a wide range of toppings. And now they're as fun to say as they are to eat.

The recipe is very simple, although the slicing takes patience and a mite of caution, as the squash's flesh can seem reluctant to release a halfway-embedded knife. I left the squash skin on, being rather fond of its taste and texture. Skinning adds a couple additional minutes to the prep time. But the cherries and Camembertstand-ins for the pizza's tomato and mozzarella, if you willchop up quickly.  Because the squash and cherries are both quite sweet, the cheese provides a necessary savory element. The luscious, buttery nuggets of Camembert melt to near transparency. I do encourage experimentation with a variety of cheeses though. Brie would provide an excellent substitute.


Saturday, May 25, 2013

Spring Vegetable Roast

One of my dearest friends has a propensity for eating plain lemons. This is one of the first things I discovered during our fledgling friendship. We were twelve, with mothers who shared a disapproval of soda. They took us out to lunch, and after the waiter arrived with our water glasses, my friend took the lemon wedge from its secure perch on the rim and stripped the flesh clear off, chewing without a wince. Not to be outdone, I followed suit. After a period of acclimation, the habit stuck. Although I do wince as I swallow the tangy segments.

I don't know how widespread this lemon-eating tendency is among the general population, but this recipe encourages and requires some substantial lemon consumption. For anyone less inclined toward tart foods, not to worry: it uses Meyer lemons. Meyer lemons have a much sweeter taste and muted sourness, rather akin to an over-sized kumquat. Roasted to a near char, they are accompanied by cheery orange carrot chunks and lean stalks of asparagus.


Saturday, April 20, 2013

Swiss Chard Pesto

Pesto really reminds me of summer. It's the season for harvesting basil, of course, but it is the bright flavour that puts me to mind of a fresh, sunny time of year. A time of year where the family gathers on the porch for dinner, and the whole pot of pasta sits at the table's center, so that no one has to reach far for seconds. In this sense, this recipe is of two minds. It is a pesto, which suggests a cry on my part for a glimpse of warm, picnic-friendly weather. But the leaf is not basil, but Swiss chard, signaling that we still have a ways to go before basil's reign is upon us. It is not actually chard season either. But I, at least, don't have the same association with the green as I do with basil, so I'm spared the nostalgia.

In its own right, this is very pretty pesto; the chard's red stems fade to a blush pink during the simmer, giving a vivid contrast of colors to the pesto's final form. I used the pesto in a couple different ways: a scoopful mixed with brown rice tinged the grains pink. A second night, I used it as a spread and smothered a toasted bagel with the pesto. The oil from the pesto acts almost like butter, soaking into the bagel's crispy pores, but with the added flavor of the luscious greens. Pairing with pasta is a natural crowd-pleaser as well.


Adapted from Shutterbean's Kale Walnut Pesto
Swiss Chard Pesto
Ingredients:
1/2 bunch Swiss chard
4 cloves garlic, chopped in half
2 TBSP lemon juice
2 TBSP olive oil
salt and ground black pepper

Directions:
--Rip chard leaves off of stems; don't worry about the size. Chop stems into 1-inch pieces.
--Place chard stems and leaves and garlic in a small pot and cover with water. Heat on medium-high heat and cook 8-10 minutes, or until leaves are wilted and stems are easily pierced with a fork. Drain water, and when cool, squeeze excess moisture from leaves.
--Scoop chard, garlic, and lemon juice into a blender. Blend on low-medium speed, adding oil gradually, until almost smooth and pesto looks just slightly grainy. Add salt and pepper to taste. Stir into rice, pasta, or polenta, or spread onto a bagel or piece of toast. Would also be excellent on grilled cheese.

Thursday, December 13, 2012

Roasted Garlic Latkes

Hanukkah is really a holiday to be shared. It's in the litany of voices reciting the prayer, the slight variations in pronunciation, the mild envy over the child who gets to light the candles. I need others around me during Hanukkah. During college, my roommates would take turns lighting the candles while I said the prayer. Before that, my family would get together with the sole other Jewish family we knew in the area and we would all make latkes; our family braided the challah, while they tossed the salad. This year, however, I asked my parents to mail me our mini menorah, but it was with the prospect of lighting the candles on my own. With housemates crazed by upcoming finals, arranging any sort of evening gathering is next to impossible.
But I did make latkes for the house. I spent the first night of Hanukkah filling the house with the smell of gently spitting oil, roasting a bulb of garlic in the oven while the potato shreds drained. I even bought a grater for the occasion. So we shared a batch of latkes fresh from the oil, dolloping sour cream onto the roundish potato pancakessome thin and crispy, others thicker and more gumptiony. I like both kinds.
Latkes traditionally contain onions and potato, but I'm just not an onion person. Perhaps the one boon of cooking latkes for myself is in that I had no obligation at all to add onions to the batter. But I wanted some flavor beyond the classic russet, so I minced some roasted garlic and tossed that in as I added the egg and flour as binders. The result was a pure potatoey pancake with bursts of deep garlic flavour. Four large russet potatoes proved just right for the six of us. We even had leftovers, which I polished off as a midnight snack.
Roasted Garlic Latkes
Ingredients:
4 russet potatoes, scrubbed
1 bulb garlic
1 egg
1/2 cup unbleached all-purpose flour
1 TBSP salt
2 tsp. ground pepper
Oil for frying
Sour cream and applesauce for serving

Directions:
--Preheat oven to 425 degrees F. Roast garlic, unpeeled, for 20 minutes. Remove from oven and when cool, peel cloves. Mince garlic and mix with 2 TBSP flour.
--Grate potatoes. Scoop into a colander and press down, using a clean cloth, to expell excess water. Let drain for 1/2 hour.
--Mix together potatoes, garlic, egg, remaining flour, salt and pepper until combined. Line a cookie sheet or a few large plates with paper towels for draining latkes.
--Pour oil into a medium sized pan or skillet to 1/4 inch deep. Heat on medium-high until a small bit of batter sizzles when dropped in oil. Add batter in 1/2 cup portions, patting down slightly with spatula when batter hits oil. Cook until dark brown and crispy, about 3 minutes on each side. Remove from oil with slotted spatula and let drain on sheet.
--Serve with sour cream and applesauce, if desired. Latkes can be kept warm in a 200 degree oven until everyone is ready to eat.  Makes approximately 14 latkes.


Wednesday, December 5, 2012

Jelly Doughnut Muffins

As usual, my family took its annual trip this Thanksgiving to spend the holiday with our longtime friends, who welcome us into their homes and kitchens. We saw one unusual development this year aside from one dish simply dripping with cheese, this Thanksgiving catered almost entirely to our sole vegan diner. We had a lovely array of vegetables, casseroles, and desserts that omitted dairy and eggs. My cranberry cornmeal-crumb tart was one such sweet. And the morning before we left for home (in a desperate attempt to prolong our departure, I admit), I made these muffins. That is, I made jelly doughnut muffins.


Come to think of it, perhaps I ought to have tackled actual jelly doughnuts. They would have taken considerably longer to make. But these muffins did the trick, providing us all with a sweet bite as we ran out the door and keeping at bay any grumbles about getting home too late. And they really do taste like they are in the jelly doughnut family. (I'd go for a tight-knit cousin, if not a blood brother.) The keys to success are a heavy dash of vanilla in the batter, viscuous jelly (which I didn't use, but more anon), and a smattering of powdered sugar that melts across the newly formed crowns of the baked muffins. This trifecta carries along the lusciously sweet, sugary flavor of the doughnut while avoiding the necessity of heating up a vat of oil. And they're vegan.


According to the recipe, these need to sit out overnight to form the crisp coat that doughnuts naturally develop from their time in the afore-mentioned vat of oil. But we didn't have time for that, and they looked too tasty right out of the oven. Actually, I missed those part of the directions until I'd already begun to mix the batter. Once there's batter, there's no going back.  But if you have the patience and plan accordingly, the doughnut-like quality of these should only improve with time.
Jelly Doughnut Muffins
Ingredients:
1 cup soymilk
1 TBSP apple cider vinegar
2 TBSP cornstarch
1 1/2 cups unbleached all-purpose flour
3/4 tsp. baking powder
1/2 tsp. baking soda
1/2 tsp. salt
1/2 tsp. ground nutmeg
1/3 cup vegetable oil
3/4 cup granulated sugar
2 tsp. vanilla extract
1/4 cup jelly (as alluded to earlier, the trick here is to use sugary, thick jelly. I used homemade jam, which was a bit too liquidy and wouldn't stay in its hole, preventing the muffin batter from rising to properly cover the jelly.)
powdered sugar

Directions:
--Mix together soymilk, vinegar and cornstarch until cornstarch has dissolved. Let sit while you prepare other ingredients.
--Preheat oven to 350 degrees F. Spray a 24-cup mini muffin pan (or a 12 cup regular sized muffin pan, or combination of the two) with cooking spray or line with muffin papers.
--Whisk together flour, baking powder, baking soda, salt and nutmeg. Make a well in the center. Add oil, soymilk mixture, sugar and vanilla to well and stir until combined.
--Fill muffin cups 2/3 full. Using a teaspoon, perch a dollop of jelly on top of each muffin. Don't worry about pressing it into the center; the muffin dough will rise to (mostly) cover the jelly.
--Bake mini-muffins for 12 minutes and large muffins for 20, or until tops are springy but firm to the touch (a toothpick test won't work, as the jelly gets in the way). Remove as soon as possible from the tin and sprinkle with powdered sugar.

(Again, I ate these immediately upon removing them from the oven. But supposedly letting them rest overnight lends the muffins a doughnut-like, crispy outer shell. Experiment as you will, and as your power to resist allows.)

Thursday, August 30, 2012

Garlic Smoosh on Baked Sweet Potatoes


This recipe is one of those successful use-whatever-the-pantry-throws-at-you dishes. At the time of this dish's inception, the only useful ingredients on the shelf were garlic, mustard and vinegar, so I combined them to make this smoosh, a well-suited name created by my friend and fellow foodie-in-training Hannah Rose. Roasted garlic provides a base (well, I suppose the sweet potato makes up the real platform, but garlic is the base for the spread, at least) for the mix of creamy mustard and sweet-tangy balsamic. Mashing the smoosh into the smooth sweet potato is terribly satisfying and delicious, but the mixture can go on an assortment of things; into grilled cheese, spread on pizza, added to pasta sauce, etc.
As most of my dishes seem to be these days (still acclimating to a new kitchen and a new life), this dish is quite simple. The only part that requires much thought is roasting the garlic. You'll want to keep some of the skin on as it roasts to protect the innards and keep them from drying out. After about 20 minutes of roasting at 400, check for doneness with a fork. If they feel soft, remove them from the oven and let them cool before de-shelling them. I did not let mine cool and my fingertips suffered; so please, wait for them to cool.
Garlic Smoosh on Baked Sweet Potatoes
Ingredients for smoosh:
1 garlic bulb, unpeeled
1 TBSP Dijon mustard
2 tsp balsamic vinegar
salt and pepper to taste

2 sweet potatoes, scrubbed

Directions:

--Preheat oven to 400 degrees F. Prick sweet potatoes several times with a fork and place on a rimmed baking sheet. Place in oven and cook for about 40 minutes or until very tender when poked with a knife.

--Set garlic on a pan (can be the same one as the sweet potatoes). Cook for 20 minutes or until a bit puffed and soft when poked with a knife. Let cool and peel cloves. Mash with a fork and add mustard and balsamic. Mix until combined. Add salt and pepper to taste.

--When sweet potatoes are cooked, pull from oven and cut in half. Place two halves per plate and spread with smoosh and any accompanying condiments you'd like (butter, sour cream, crispy onions, more pepper). Serves 2.